Additional fields in the ticket order form
A standard ticket purchase form includes four fields where customers enter their personal data: name and surname, email address and telephone number. This information allows completing the online order and sending out electronic tickets. However, apart from the digital passing documents our clients often ask for their traditional paper versions. There are various reasons for that: some of our customers purchase tickets for the present, others just wish to keep them as a memory of an event. Suchlike cases require additional data like a postal address, so the ticket order form needs to be extended.
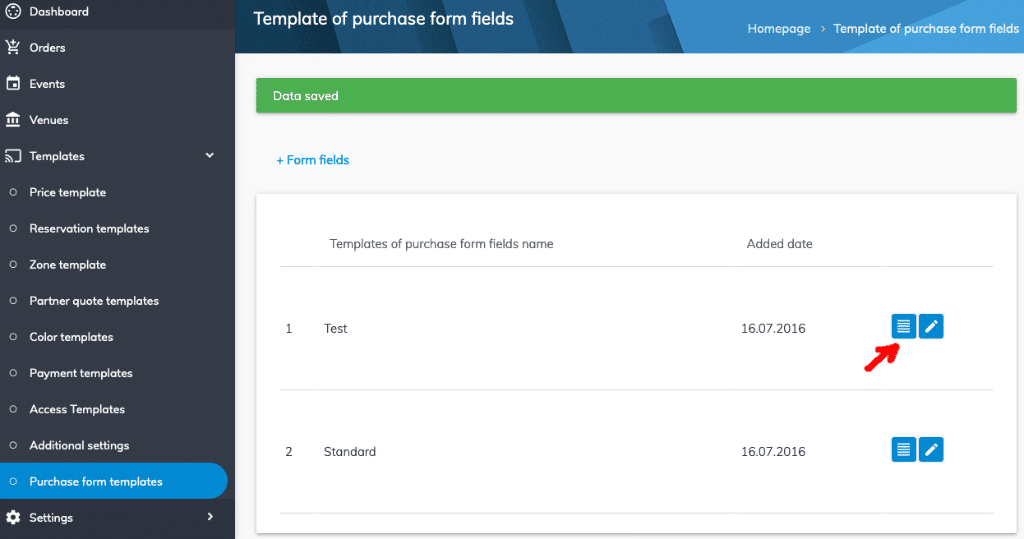
How to add fields
Adding fields is carried out with the help of purchasing form templates. Having created a template, you can append one or more additional fields to the four standard boxes.
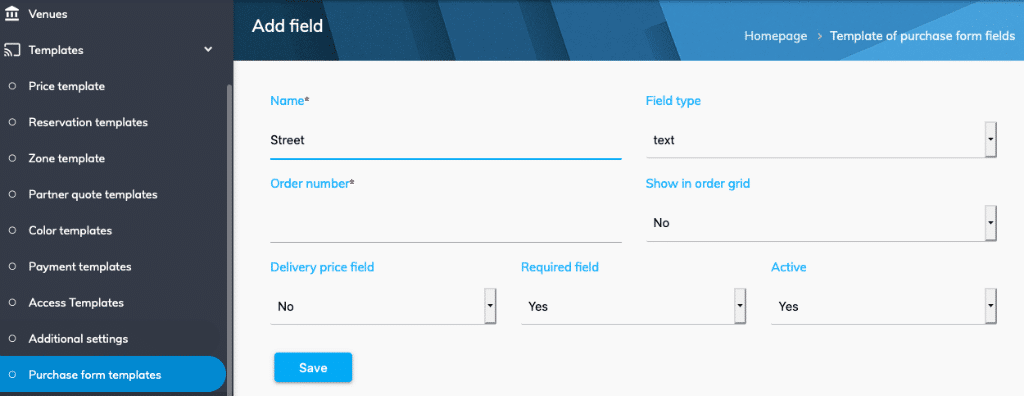
The new fields may contain text, drop-down lists, or predefined data sets. Also, you can employ in check-boxes. Apart from the fields’ names, you can arrange their numerical order in the purchase form and identify if the newly created fields should be displayed in the list of orders. Furthermore, you may get the system check if a particular box has been filled before the customer attempts to save the order.
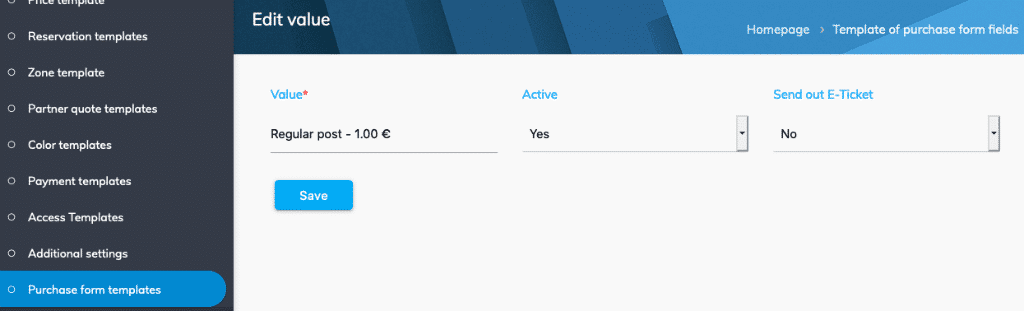
Let us settle on the fields that are designed to store the data regarding ticket delivery prices. In case you ask the customer to provide the postal address, the delivery price needs to be added to the ticket value. Delivery methods should be arranged in the form of a drop-down list. In case the ticket delivery price box is applied in the order form, you may prefer to set the option of asking the customer if he or she requires the electronic version of the passing documents. Still, you should bear in mind, that sending out paper and digital tickets at the same time can confuse the client, so try to avoid doing it.
How to add user agreement fields
It is a universal practice to apply confirmation boxes for customers’ acceptance of purchase conditions. To add such a field, you need to select ”checkbox“ out of the available alternatives, enter its name and set a link to the relevant page by using an HTML code.
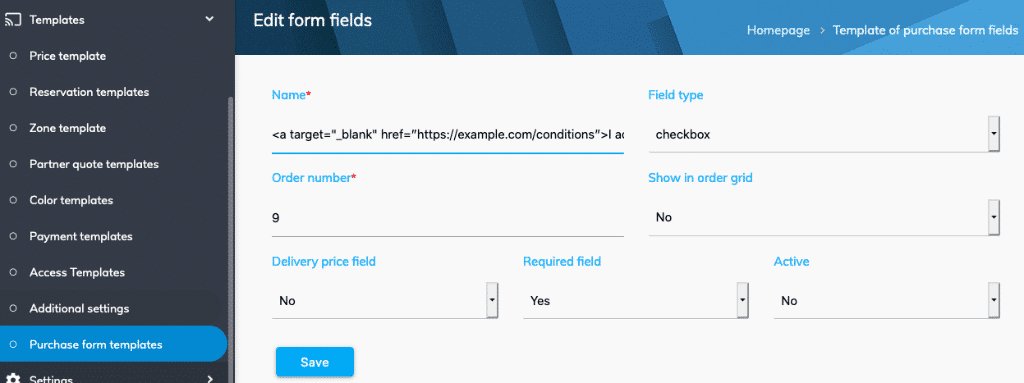
Let us take a closer look at the example of the “Name” field: it contains a link to the document that should include the description of the ticket purchase conditions, that clients need to accept. <a target=”_blank” href=”https://example.com/conditions”>I accept terms and conditions</a>
The link will open in a new window due to the use of target=”_blank” attribute. Opening the link on the ticket order page does not make sense as thus the purchasing process will be interrupted.
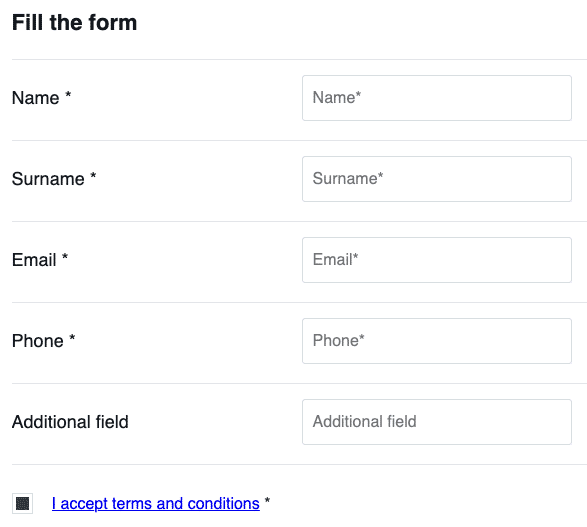
Below, you can see a sample form containing two additional fields:
How to use purchase form templates when setting up an event
When adding or editing an event in the advanced user mode, you may indicate the preferable template. In order to edit a particular affair, go to the list of events and press the pencil icon. In the opened edit form select a required template.

After you save the event, the new fields will appear in the purchase form.
If you have more question, please call us:
Or drop us an E-mail: